
The Best Way to Save Your Roof
Now you should be checking the seams of your unit often: once a month for your roof, yearly RV maintenance, or any time you believe your rig may have received serious damage that could cause them to be jeopardized, such as extreme weather or rapid freezing and melting in a short time.
A quality roof sealant can protect your roof for years! But how do you choose the best one for you?
We at No Bull have very strong opinions on this topic: for example, Flex Seal = NOPE! You need something made for the job.
But what is sealant and why is it special?
Silicone Is Not the Answer!
Now repeat that until it’s a reflex: Silicone does not adhere to roofing material correctly and create a watertight seal, because it requires a near perfectly smooth and clean surface to do its job properly – that’s why you can never just patch the silicone caulking around your tub at home, you have to peel it all away and start from scratch.
What’s Best for You, Consider:
- Extent of damage and its location
- The type of RV roof
- Area requiring sealing
Extent of Damage: Are you dealing with extensive damage, indicated by severe delamination, staining, sagging and/or soft areas in the ceiling and roof, or a mold/mildew smell? Or small cracks and seams that have pulled apart, etc?
Roof Type: Rubber, metal, fiberglass, the type of RV can change the type of sealant you require. Using the incorrect sealant can actually damage the seals already present. If you’re concerned, you can contact the manufacturer of the RV and they are usually able to recommend one for your specific RV/trailer.
Area of Damage: The location of any cracks will affect the type of sealant you need; generally, the main factors to consider are:
- Flexible or rigid seal
- UV resistance
- Vertical or horizontal surface
Choose a sealant that will stand up to the many temperature changes and weather impacts it will go through. Your choice needs to be flexible enough to work with (and not against) the expanding and contracting your trailer roof will do. This can prevent future damage and protect the seals on your roof. Furthermore, whether you’re fixing a spot on the roof or wall will also change your product type.
UV resistance: Unless you’re constantly storing your RV inside or camping out under a tree or overhang, your roof is going to get hit by a lot of sunlight (even in Alberta). So, your choice needs to be able to stand up to UV rays that can break down lesser sealants.
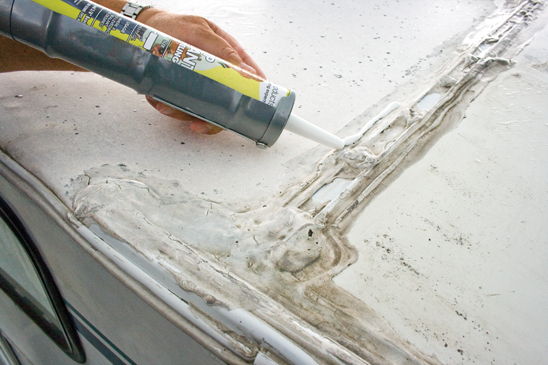
Our Top Choice Is…
Dicor Self-Leveling Lap Sealant: It has strong adhesion to all types of materials including fiberglass, vinyl, aluminum, and wood. There’s a reason it’s our favorite. It’s also flexible! Both literally and figuratively, it’s good for not just resealing but covering holes, cracks in vent pipes, screws, and air vents. It’s made for RVs, and if you want to avoid big problems down the road you want the right product for the job. We’ve seen it all, the wrong product can be rejected by your fiberglass or rubber roof over time, making a huge mess. Think of it this way: you wouldn’t use hot glue when building a cabinet.
You can get it at most RV parts shops, including No Bull RV in Spruce Grove!

Runner Up…
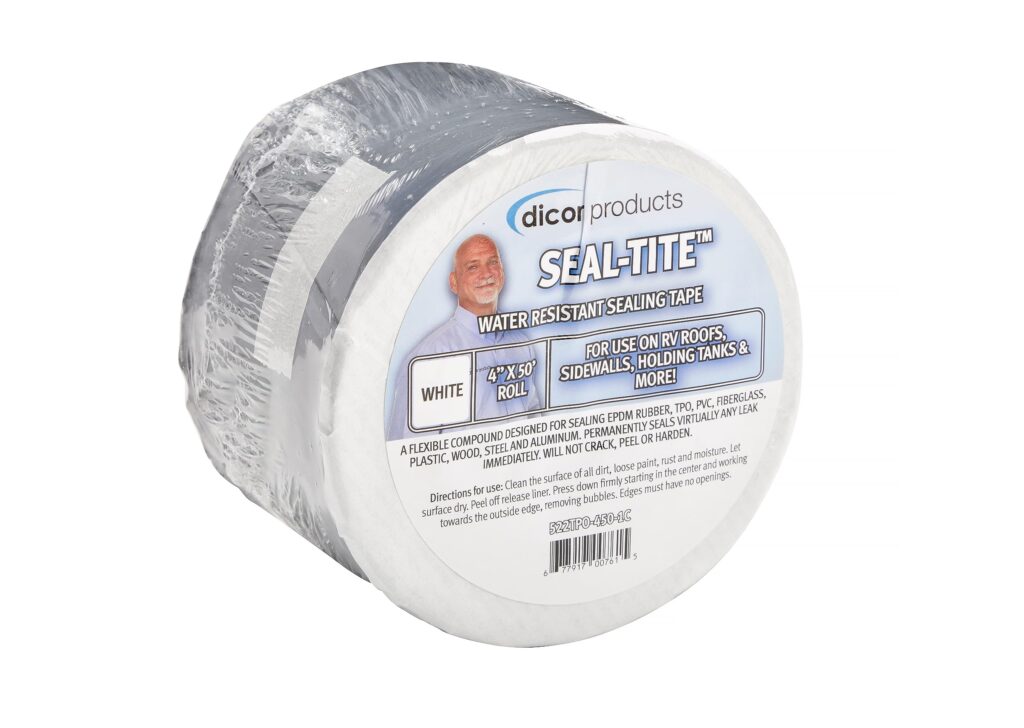
Eternabond Tape Microsealant OR Dicor DiSeal Tape: Great for patches and quick and easy to apply. However, its pro is also its con: Tape is not self-leveling, so we consider it a patch not a seal. It’s not going to sink into cracks the way a sealant does. So, if you don’t apply it properly and have a complete bond it can still let in water.
Notable Mentions…
Once upon a time Heng’s Rubber Roof Coating was a good go-to, however more recently this product has seen a span of poor reviews as it appears the quality of the product has become less reliable. We don’t recommend it for this lack of consistency.
Similarly, there appears to be a lack of consistent quality with Geocel ProFlex Sealant. While some swear by it, we’ve seen more accounts of its lack of duration and messy application process than we’re comfortable with and don’t recommend it.
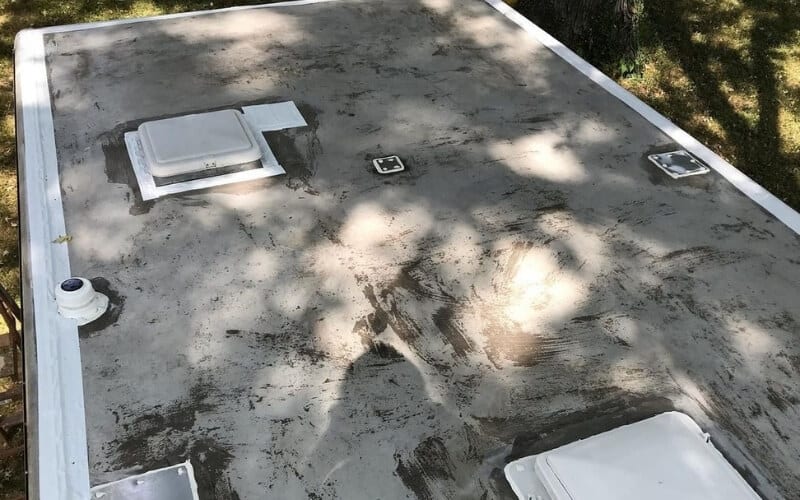
Prepping and Sealing
Now that you’ve got your sealant, it’s time to scrub your roof before you start applying any repairs! You don’t have to worry about any big, fancy industrial cleaners or power washers – in fact these can actually damage your roof. A good scrub with Dawn dish soap and a rinse off with your garden hose is more than enough – just make sure you don’t leave any soap residue behind.
In most cases, a patch job is fine. Rule of thumb: If your seals are still soft and pliable, not hard, brittle, or flaking, you’re okay to go overtop of them.
Ever unsure? Call up your local RV repair shop and have them take a look at your roof. Heck! We offer roof inspections ourselves!
In a pinch…
It comes down to: if you regularly check the seals of your trailer you shouldn’t need to worry about leaks while camping. However! If, by some stroke of bad luck, you do end up needing a quick fix, you can keep a few options on hand.
(Please, please, please…do NOT use silicone. Again, it’s more trouble than it’s worth.)
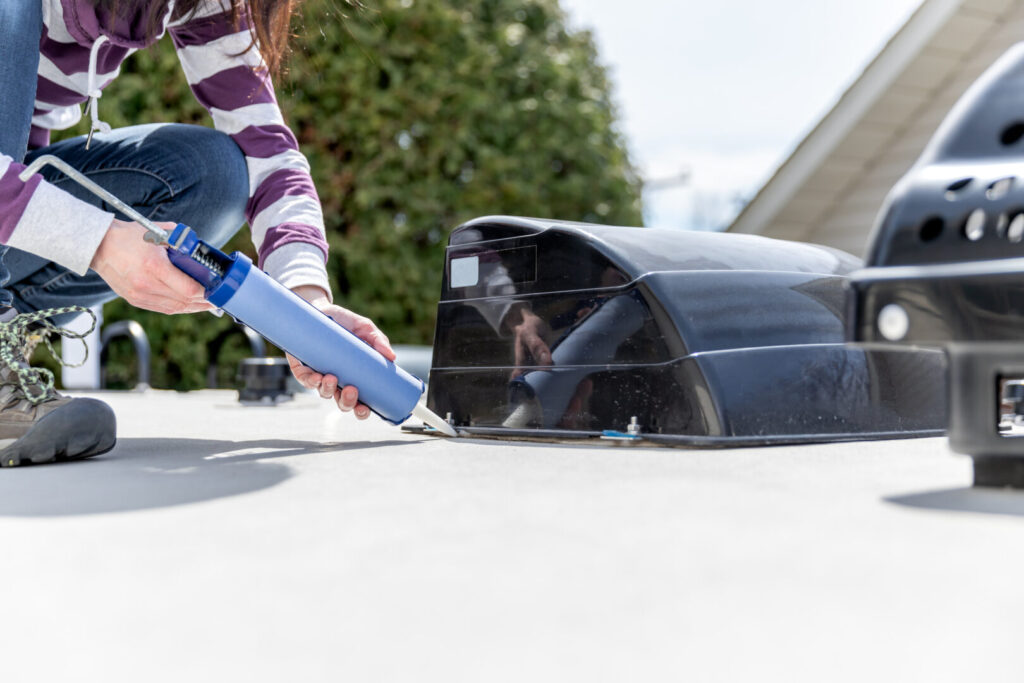
Have Dicor Sealant and Eternabond Tape handy to cover your bases. This means you’ll also need a caulk gun for the sealant and some rubber gloves to keep a barrier between the Dicor and your skin, for safety.
In conclusion…
Dicor for when you regularly check your RV over and need to fix it (and have the time to do so), and RV repair tape for emergency patches.
We hope this helps you out on the road in the future, happy travels!