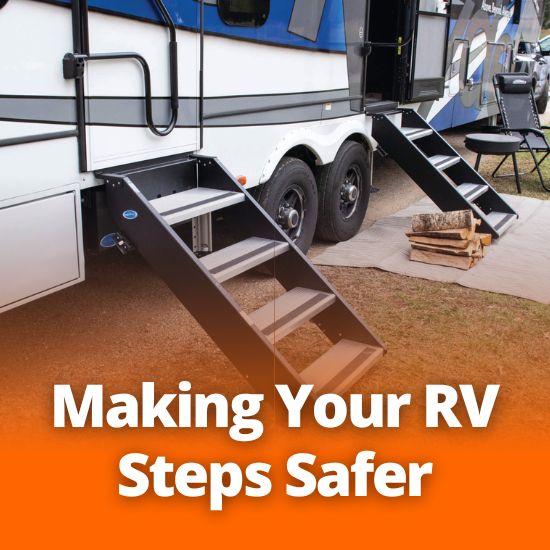
Making Your RV Steps Safer
Let’s face it, we’ve all taken a spill on our RV steps at least once. I know I’ve gotten quite a few shin bruises. So we’re going to cover a couple ways that you can make your RV steps safer (regardless of age, mobility, or sobriety).
We strongly recommend at least one, or all, of the first three.
This post includes links; No Bull RV makes no revenue from any purchases therein and, unless explicitly stated, is not affiliated with any products or businesses mentioned.
1. Glow in the Dark Tape
Easily run a strip of glow tape on the front of each tread (and the sides if you want to be extra) to lead your way at night.
No Bull Tip! This tape can also be applied to the corners of your awning or any other easily bumped edges to avoid them in the dark.
2. Carpet Mats
The second of the easiest (and cheapest) improvements: apply carpet mats to each step’s treads. Also called ‘stair covers’ if you’re doing a Google search, these can help keep dirt out of your RV, and are exceptionally helpful during wet weather where they lower the risk of slipping on a slick step.
3. Stair Stabilizer Stand (or adding an extra step)
If your rig doesn’t already come equipped with easy steps, this extra accessory supports the lowest point of floating stairs, making them more stable and therefore safer to use (no more bouncing!)
There are a bunch on the market, but here are a couple of the highest rated on Amazon for your perusal:
PEAKTOW PTR0003 1000lb. 7-5/8″ to 14″ Extra-Large Platform RV Save-A-Step Brace 2PK
If you don’t want to bother with replacements or if floating stairs aren’t a problem but height is, grab what amounts to a heavy-duty, extra stable step-stool. Not only can it make your stairs easier to use, but they can pull double-duty if you find high shelves tricky!
4. Install a Stair Rail
Give yourself some extra handholds when you as- and de-scend. Add an extended rail attached to the side of your RV to provide that. You can even install one on either side of the stairs if you need it.
Here’s one by MorRyde as an example
5. Replace Floating Steps with Solid Steps
You can also go all out and completely swap your stairs to solid steps. Instead of floating like the average set, these will rest on the ground, greatly increasing stability. Lots of RVs come with them too, look for the terms ‘easy steps’ or ‘solid steps’ as some of the most common.
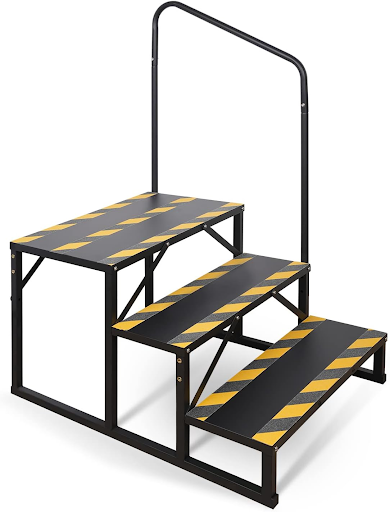
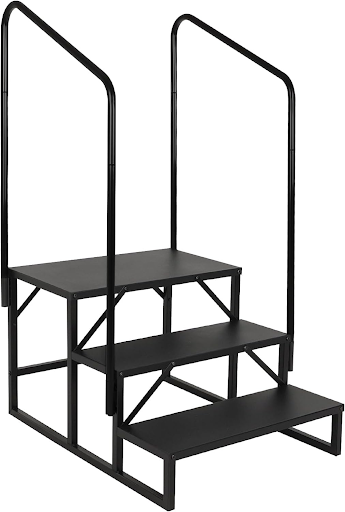
6. Use Portable Steps with a Handrail
These can be great for a number of reasons: getting in and out of tall vehicles, are often wider and easier to climb, with many having a built-in rail. Sure, they take some set-up and require extra space to pack away, but if they end up being the best option for you, they’re well worth it. (You can also use them for cleaning the outside of your rig!)
7. DIY Steps
If you’re handy: build your own! A quick Google search led me to a rabbit hole of Redditing RVers who have shared their designs and stories, for everything from small dogs to aesthetics!
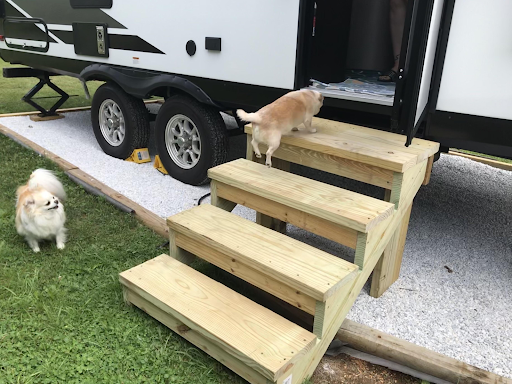
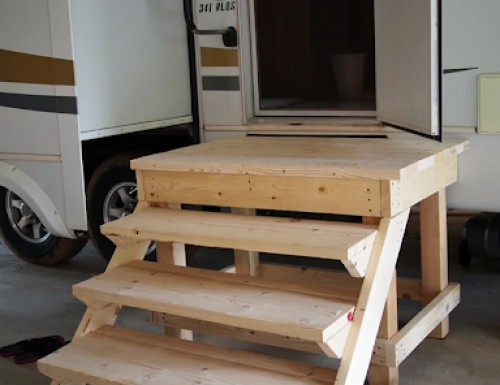
I would personally also recommend a waterproof sealing or stain of some kind to make them last. (And if you choose this route, remember that you’ll have to pack and transport them too).
8. Install a Lift
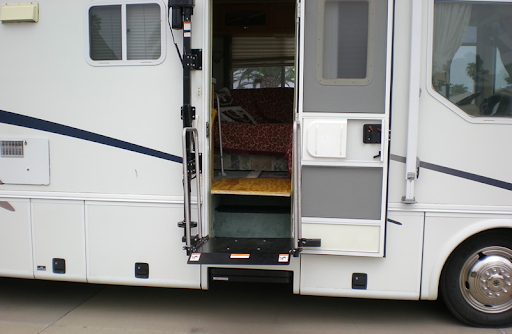
But if stairs aren’t going to cut it (and a toy hauler with ramp entrance is out of the question) you can buy a handicap lift and have it installed to the entrance. There are a number on the market that can suit your needs, good for everything from knee problems to scooters and wheelchairs.
9. Bonus! Use a Pet Ramp
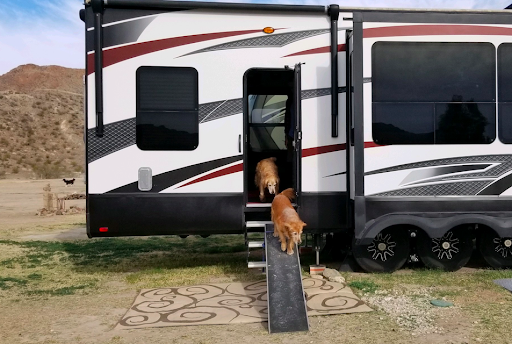
Small dogs and elderly animals can also have a hard time getting in and out. I know my dog found the wobbly floating RV stairs pretty spooky and she refused to climb them (had to be picked up, and she was a poodle! Wish we’d figured this one out sooner.) Pet ramps can make it easier and safer for your companions to get around.


