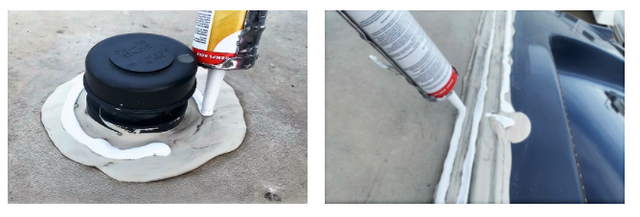
Here' the best method to prevent leaks and extend the life of your trailer and its roof.
Follow our step-by-step process – your RV will thank you.
Most commonly, RVs have a rubber or vinyl roof membrane that stretches front to back and over the edge of the roofline.
These rubber roofs generally come with a 10 or 12-year warranty and in and of themselves, typically don’t leak.
What DOES have the potential to leak are the seams and edges on the ends or where holes have been cut in the room to accommodate roof vents, A/C units, and so on.
It’s important to inspect your roof once or twice per year and look and where you see small cracks developing, the sealant is going to have to be re-applied.
But this is important: Do NOT use silicone for this job! We don’t care what Phil Swift says about Flex-Seal – there is an actual product designed for resealing a roof, and that’s what you want to use. (That’s right, Bob!)
Dicor Self-leveling sealant is available at most RV dealers including ourselves.
TO RESEAL YOUR ROOF:
STEP 1: Clean the area with brake cleaner

STEP 2: Apply Dicor
Make sure that it gets into the area fully and that there are no air bubbles. It takes a while for this to set up, so make sure you aren’t doing it on a rainy day for heaven’s sake.

…Simple as that! Ain’t that right, Rick?
To know more about your RV roof, check out this video:
