

Delamination: Your Worst Enemy
Delamination is caused by moisture getting between the layers of your RV walls. The walls of your standard RV or trailer are built like a sandwich with a fiberglass (or gel coat) outer layer, and a plywood or luan backing (with some extras here and there depending on the type). Unlike your brick and mortar, to lessen overall weight these walls are vacuum bonded together. Remember when you were a bored kid and you just started gluing pieces of paper together – it’s like that.
Water can get between these layers and break down the adhesive in a few ways including (but not limited to):
- Cracks or tension caused breaks in the fiberglass or gel coat
- Tears in or loose rubber seals around windows and doors
- Tears in or loose rubber seals on roof seams
Delamination does not automatically mean there’s a structural issue! But, left untreated, delamination can go from a small cosmetic annoyance to full-on wood rot and mold. Therefore, it’s important to look for huge delamination issues when RV shopping. While it’s going to be more common in older units, new ones aren’t exempt and can be affected by a few variables no matter their age, like:
- Poor maintenance
- Lack of seal inspection/reseal
- A proper reseal should be done around every 5 years, but you should be checking the seals and seams of your trailer yourself at the beginning and end of the season at least
- Being stored outdoors in areas of heavy rainfall/snow
- Experienced many rapid/extreme temperature changes (this can weaken adhesives)
- Ignored or missed stress cracks
- Incorrect sealant used for repairs (usually DIY and not professionally done)
Because delamination is most commonly caused by a lack of proper checks and resealing of seams, RV insurance and extended warranties rarely cover delamination repairs.
Gutter Butter
Another common cause of delamination on longer rigs is gutter butter, that gross staining that appears because of unsealed gutters on your trailer. It’s a personal pet peeve of ours.
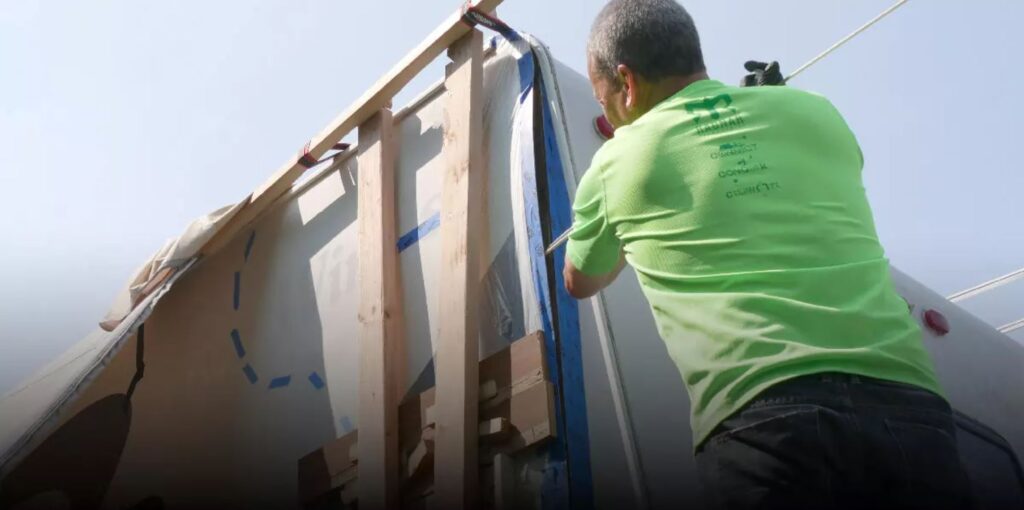
Bring your pride and joy into us and we’ll inspect the roof for you and fix all the butt joints of your unit to help you avoid gutter butter and give you some extra peace of mind.
Check
So what should you watch for if you’re looking for delamination? Sometimes it will be easier to tell by touch and not just a visual check. Delam can affect big and small areas, but in either scenario you’ll want to find the source of any leak or water intrusion and stop it completely. Stopping a leak is the number one way you can stop delamination from occurring!
Take a walk around your unit, paying particular attention to spaces under windows and seams looking and feeling for bubbles or waviness. In any suspect areas, push on the wall. If you feel it pop in and out, like pressing on a hard bubble, this is a sign of delamination.
Seal
Now you find the leak or area of weakness where the water got in. Prime suspects are: cracked/peeling seams around windows and A/C units, where the roof and walls meet, or any vents or other edges/seams. Look for cracks or seams that have pulled apart, or the sealant has peeled away (just as a few examples).
Once you’ve located the source of your leak you have to invest in a suitable sealant – and this may change for you depending on the location. For leaks along the sides of your trailer – such as window seams or the fridge vent – you’ll want a non-levelling sealant. For horizontal surface leaks, go for sealant tape or self-leveling sealants. We recommend Dicor self-leveling, and non-leveling sealants! They’re RV specific and can be found at most dealers, including us!
It’s recommended that you treat the other seams on your unit as well after you’ve sealed your leak. After all, that may just be the first one and could hint that other seals have degraded as well.
Fix: DIY or Professional
Now you may be one of those people who don’t care about the appearance of delamination, in some cases it’s a small enough cosmetic issue not to matter, but if you want to get your walls back to normal there are options.
Delamination Repair Kits: This isn’t a quick fix and requires equipment, time, and manual labor – if you don’t want to do it yourself look into accredited RV repair shops for professional repairs.
[LINK https://www.amazon.ca/dp/B01J1CGOWA?psc=1&th=1&linkCode=gg2&tag=rvgyoucha-20 ]
These kits will usually include epoxy and injectors, you will need to also have large clamps and wood for pressing and bracing. Follow the directions for these kits, which will typically follow a process like this:
- Removing edging, compartments, and windows surrounding the delaminated area to access the inside of the walls.
- Mixing resin according to product instructions and using an injector/tube for application.
- Apply epoxy between each layer of your wall
- Clamping walls together with a board to apply even pressure to ensure even and complete bonding
- Leaving the clamped wall to cure for a day minimum (longer depending on kit specifications).
In cases of larger delamination, such repairs may be better done by a professional and accredited repair shop, as improper repairs done at home may only cause bigger problems.
Delamination and Used RVs
There are a few things to consider when it comes to buying a new versus used RV in this case: 1) Small areas of delamination can usually be fixed with a home repair kit costing between $100-300. 2) Large/total wall repairs should be fixed by professionals to ensure proper/safe completion, but will be more expensive.
With those in mind, let’s discuss some pros and cons of purchasing a used RV, even if it does have some delamination present.
Pros:
- A used RV will still be more affordable than a new one, even factoring in repair costs (which you can always discuss beforehand when searching for a used unit and factor it into your budget)
- Minor delamination can be fixed with a home repair kit
Cons:
- Severe delamination will require professional repair
- Fixing extreme degrees of damage on your own can only be a temporary solution
- DIY fixes risk inconsistent adhesive application/repairs
- Done incorrectly (on your own) can cause structural damage
Overall, don’t be discouraged by small areas of delamination on your own unit, or while shopping for one. Ensure that any leaks or rough seals have been repaired and don’t be afraid to ask questions when shopping with us, we’re more than happy to chat and offer advice!